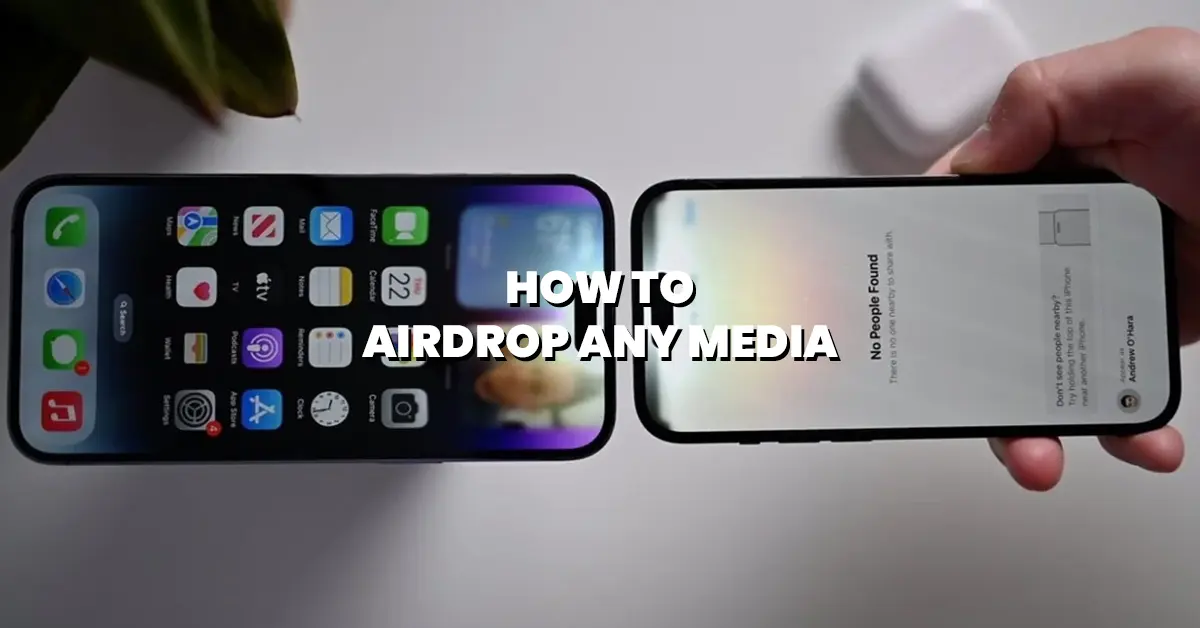
“If you’re still emailing pics or using USB drives to move files between your Apple devices, it’s time to meet your new BFF: AirDrop.” Seriously, AirDrop is the ultimate cheat code for sharing photos, files, and links between your iPhone, iPad, and Mac. I made the switch from Android to iPhone a while back, and AirDrop instantly became one of my all-time fave Apple features. No more awkward file transfers or waiting forever for stuff to load.
The beauty of AirDrop? It works like magic across all kinds of content. Whether it’s pics, docs, videos, audio recordings, contact info, or web links, you can share it instantly between Apple devices without breaking a sweat. The first time I used it, I legit thought it was some kind of sorcery.
Now, here’s the deal: AirDrop is exclusive to iOS and MacOS (sorry Android and PC users). When Apple dropped this feature in 2012, it was one of the major things that separated iPhones from Androids. If you’re still repping team Android, don’t worry, you’ve got something similar called Quick Share.
And no, you don’t need the latest iPhone 15 or a tricked-out MacBook Pro to use AirDrop. As long as you’ve got an iOS device running iOS 7 or newer, or a Mac running OS X Yosemite or later, you’re golden. Oh, and both devices need to be within 30 feet of each other, with Wi-Fi and Bluetooth switched on. Also, there doesn’t seem to be a size limit for what you can AirDrop, but heads-up: bigger files = longer wait times.
How to Turn on AirDrop
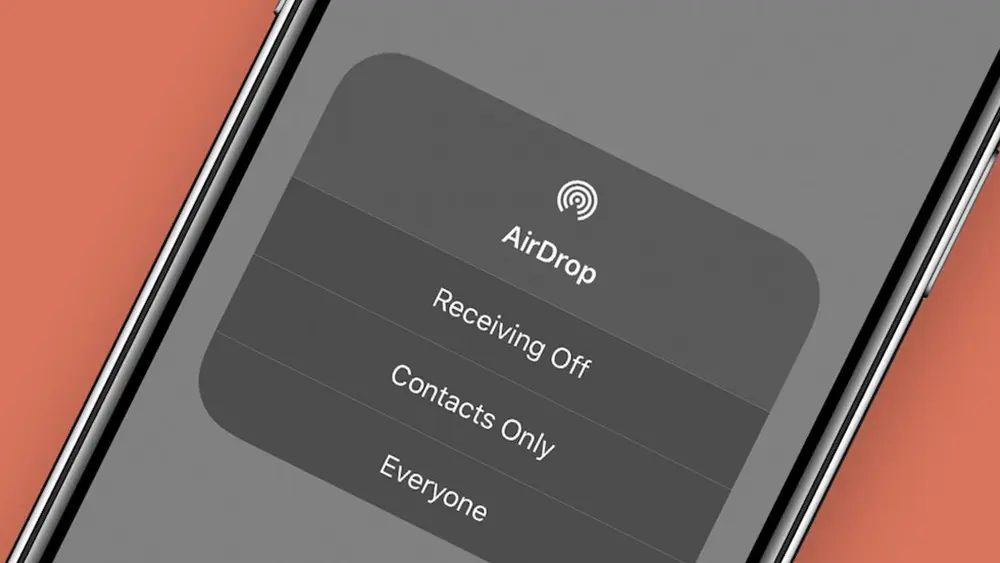
Ready to start flexing that AirDrop game? Let’s turn it on.
- On iPhone: First, make sure Wi-Fi and Bluetooth are both on. Swipe down to open the Control Center, then press and hold the wireless connection icon until it expands. Now, tap AirDrop and choose from Receiving Off, Contacts Only, or Everyone for 10 Minutes (basically, who can send you files).
- On Mac: Check that Wi-Fi and Bluetooth are on. Open a Finder window and click AirDrop from the sidebar. A radar-like graphic will pop up, showing anyone nearby who’s got AirDrop enabled. At the bottom, you can decide who can send you files – No One, Contacts Only, or Everyone.
How to AirDrop on iPhone
Here’s the rundown: to AirDrop files from your iPhone, both you and the person you’re sending to need Wi-Fi and Bluetooth turned on. Also, if either of you has a Personal Hotspot or VPN running, turn those off – AirDrop won’t work otherwise (weird, but true).
Whenever you see a Share button (it’s that little rectangle with an arrow pointing up), AirDrop is in play. For example, let’s say you want to send a pic from your Photos app. Hit the Share button, then tap AirDrop. You’ll see a list of nearby people with AirDrop on, and you just pick who you want to send your file to.
On their end, a notification will pop up with a preview of the file. They can hit Accept or Decline. If they accept, the file transfers. Pics and vids go straight into their Photos app, documents let them pick an app to save to, and web links automatically open in their browser (which is probably Safari, let’s be real).
Now, if they’ve got AirDrop set to Contacts Only, you’ll need to be saved in their Contacts for the transfer to work. If not, they’ll have to switch AirDrop to Everyone to receive your file.
NameDrop: AirDrop, But Cooler
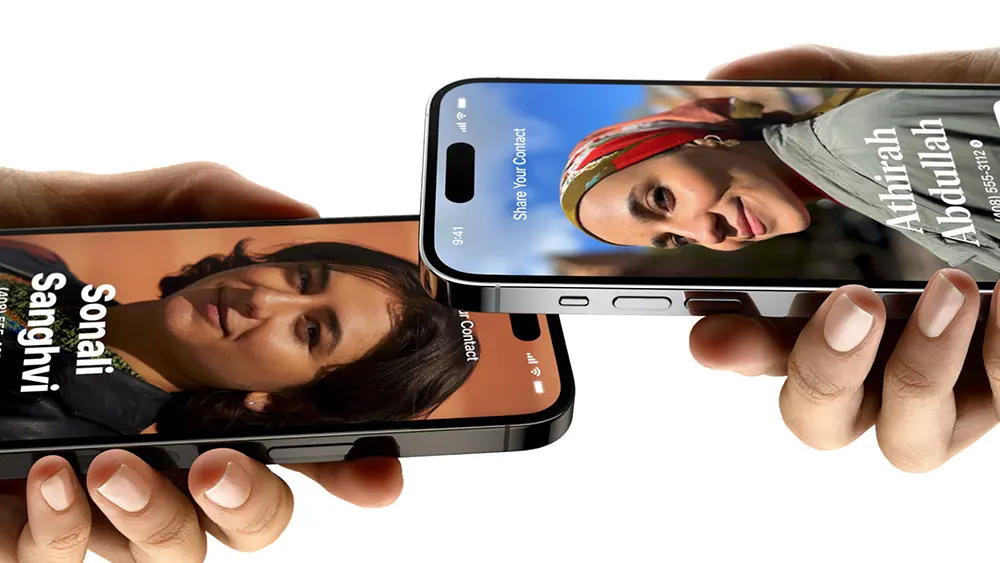
Apple just leveled up AirDrop with something called NameDrop. It’s basically AirDrop for contact info and media – but instead of picking someone from a list, you just bring two iPhones close together, and boom, instant sharing. The catch? Both iPhones need to be running iOS 17 or later, and yeah, it’s iPhone-exclusive (sorry iPads and Macs).
To set up NameDrop, head to Settings > General > AirDrop and flip the switch next to Bringing Devices Together. Now, all you need to do is hold your phone close to another iPhone to quickly swap contacts or share photos and videos. Easy.
How to AirDrop on Mac
Ready to AirDrop from your Mac? First, make sure Wi-Fi and Bluetooth are on. Open a Finder window, click AirDrop from the sidebar, and wait for the radar to show nearby devices. Want to share something? Just drag and drop the file onto the contact icon of whoever you’re sending it to. It’s basically the same as iOS – simple and fast.
And if you see the Share button anywhere on your Mac, you can AirDrop from there too. So, next time you’re working on a document or browsing a webpage, don’t bother with email. Just hit Share and choose AirDrop.
How to AirDrop Between iPhone and Mac

Sending a pic or link from your iPhone to your Mac (or the other way around) is a breeze. Let’s say you’re on a webpage on your iPhone and want to send it to your Mac. Open the Share menu, hit AirDrop, and pick your Mac from the list. Your Mac will get a pop-up asking to Accept or Decline. Once it’s accepted, the link will open in Safari (or whatever browser is set as default).
If both your iPhone and Mac are signed into the same Apple ID, you won’t even get the Accept/Decline prompt. The file will just transfer automatically – no questions asked.
Changing Your AirDrop Name
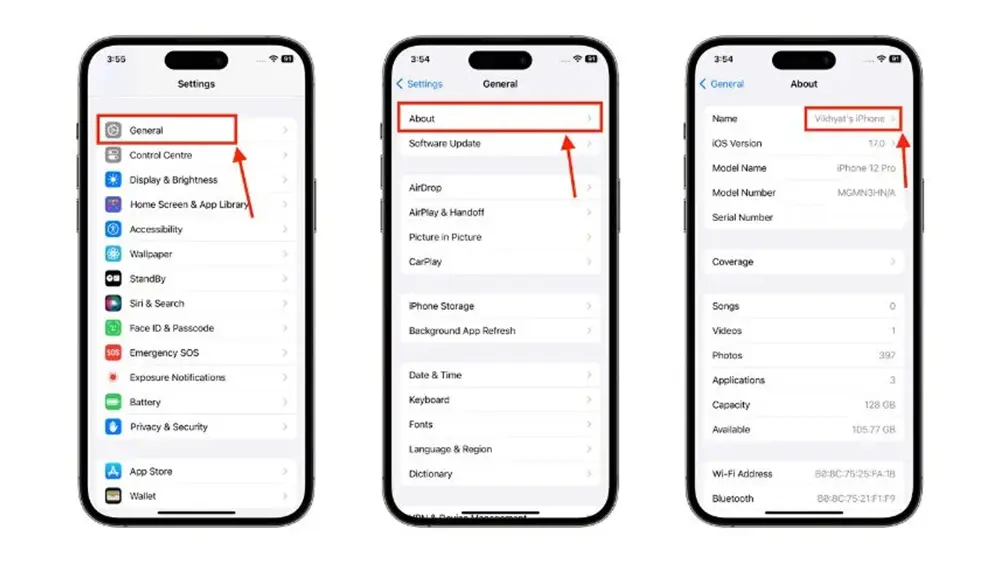
Want to switch up the name that shows up when you AirDrop? It’s actually your device name. To check or change it on your iPhone, go to Settings > General > About. The first thing you’ll see is the name of your iPhone. Tap it to make it whatever you want.
Now that you’ve got AirDrop on lock, you’re officially part of the squad. Sharing files, pics, and links has never been easier.
Leave a Reply