“Alright, gamers, let’s talk hardware. You’ve seen the PS5 Pro crush 4K gaming, and you’re ready to build a PC rig that can match—or even outperform—it. Spoiler alert: It’s totally possible. You just need the right parts, a bit of know-how, and some futuristic tech magic.”
Building a gaming rig that matches the performance of a PS5 Pro isn’t just about throwing together random components. You need to carefully select each part to ensure you get that sweet balance of power, speed, and cooling. Let’s break down the essential steps to craft a gaming rig that can handle next-gen graphics, ray tracing, and buttery-smooth frame rates.
1. Start with the Heart: The Processor (CPU)
The PS5 Pro packs serious power with its custom AMD Zen 2-based CPU, clocked at 3.5 GHz. To match that, you’ll need a processor that delivers fast multi-core performance. Your best bet? Grab a CPU from AMD’s Ryzen lineup or Intel’s Core i7 range.
For AMD fans, the Ryzen 5 7600X is a fantastic option. With 6 cores and 12 threads, this CPU will easily handle high-end gaming and streaming tasks. If you’re more of an Intel enthusiast, the Core i7-13700K should be on your radar. It’s slightly pricier, but you get extra cores and multi-threading that’ll future-proof your build.
Pro Tip: Don’t skimp on the cooling system. With powerful CPUs comes serious heat, so make sure to get a decent cooler—whether air or liquid-based. A good choice is the NZXT Kraken Z53 for liquid cooling or the Noctua NH-D15 for air cooling.
2. Graphics Card (GPU): The Powerhouse of Your Build

This is where the magic happens. The PS5 Pro’s RDNA 2-based GPU is equivalent to a mid-range PC graphics card, pushing out stunning 4K visuals. To match it, you need something with ray tracing and enough VRAM to handle next-gen games.
Your best option? NVIDIA’s RTX 4070. It’s packed with 12GB of GDDR6X VRAM and offers exceptional ray tracing performance. Plus, it comes with DLSS 3.0, which uses AI to boost frame rates without compromising on image quality. Alternatively, AMD’s Radeon RX 7800 XT is a solid choice if you want to stick with Team Red. It’s a powerhouse when it comes to 4K gaming and competes well with the PS5 Pro’s graphical output.
Pro Tip: Make sure your monitor can keep up with your GPU. Look for something with at least a 144Hz refresh rate and G-Sync or FreeSync to prevent screen tearing.
3. RAM: Speed and Capacity
To match the PS5 Pro’s 16GB of GDDR6 memory, you’ll need a good amount of fast RAM. For a gaming rig, 16GB of DDR5 RAM is the sweet spot, offering faster speeds and better future-proofing. The Corsair Vengeance RGB Pro 16GB DDR5-6000MHz is perfect for handling demanding games and multitasking.
If you’re into streaming or heavy multitasking, consider upgrading to 32GB to keep everything running smoothly while gaming, especially if you’re working with AI-driven processes or future-proofing for the latest in technology trends.
4. Storage: Faster Load Times

Gone are the days of slow load screens—thanks to the PS5 Pro’s ultra-fast SSD, loading times are almost non-existent. To get that same speed in your rig, you’ll need an NVMe SSD. The Samsung 980 Pro 1TB offers blazing-fast read speeds of 7,000 MB/s, making it perfect for quick load times and seamless gameplay.
If you’re a storage hoarder, consider adding a second SATA SSD or a traditional HDD for bulk storage. Games like Cyberpunk 2077 can take up serious space, and you don’t want to run out of storage halfway through installing your library.
5. Motherboard: The Backbone of Your Rig
The motherboard connects all your components, so you’ll need something that supports your CPU and GPU. For AMD builds, the MSI MAG B550 TOMAHAWK is a solid option with plenty of room for upgrades, including support for PCIe 4.0.
If you’re going with an Intel CPU, check out the ASUS ROG Strix Z690-E Gaming motherboard. It’s packed with features like Wi-Fi 6, fast data transfer speeds, and multiple PCIe slots for future expansion, which is crucial for AI in future technologies.
Make sure your motherboard has enough M.2 slots for that sweet NVMe SSD, as well as room for RGB lighting if you want your rig to glow like a gamer’s dream.
6. Power Supply (PSU): Keep the Lights On
You don’t want your system to crash mid-game because your power supply couldn’t handle the load. A 750W to 850W power supply from a reputable brand like Corsair or EVGA should do the trick. If you’re adding extra components like additional storage or custom cooling, consider a modular PSU for easier cable management.
7. Cooling: Keep Your Rig Chill

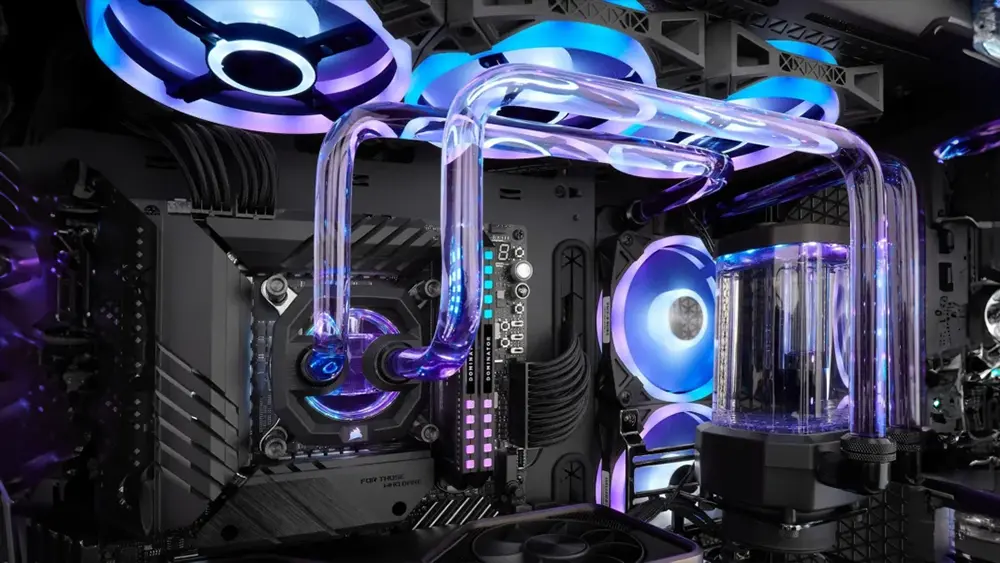
With all this power comes heat, and nothing kills performance like a rig that’s running too hot. Liquid cooling is the gold standard for keeping your system cool and quiet, but air cooling can also get the job done with the right setup.
The NZXT Kraken X63 is a great choice for liquid cooling with its customizable RGB display, while the Noctua NH-U12A is one of the best air coolers on the market, combining performance with quiet operation.
Make sure to pick a case with good airflow, like the Lian Li Lancool II Mesh, which has plenty of room for fans and radiators.
8. Extras: AI Features and Future Tech
AI is creeping into all aspects of tech, including gaming. Tools like NVIDIA’s DLSS use AI to upscale lower-resolution images in real-time, giving you higher frame rates without sacrificing quality. As AI in future tech evolves, expect to see more integration into gaming rigs, from automated overclocking to personalized gaming optimizations based on how you play.
Keep an eye on emerging types in technologies like cloud gaming and virtual reality (VR), as they continue to reshape the gaming landscape. Your rig can be built to support these trends by investing in a high-end GPU and future-proofing your setup with the right motherboard and cooling.
9. Final Touch: The Build Process
Once you’ve gathered all the components, the actual build is the fun part. Start with the motherboard, installing the CPU, RAM, and SSD first. Carefully place the motherboard into the case, then install the GPU, PSU, and cooling system. Make sure to manage your cables neatly to ensure good airflow and reduce clutter inside the case.
If you’ve never built a rig before, there are countless tutorials on YouTube, and most components come with manuals. It might seem overwhelming at first, but once everything’s in place and you hit that power button, you’ll feel like a tech wizard.
Leave a Reply