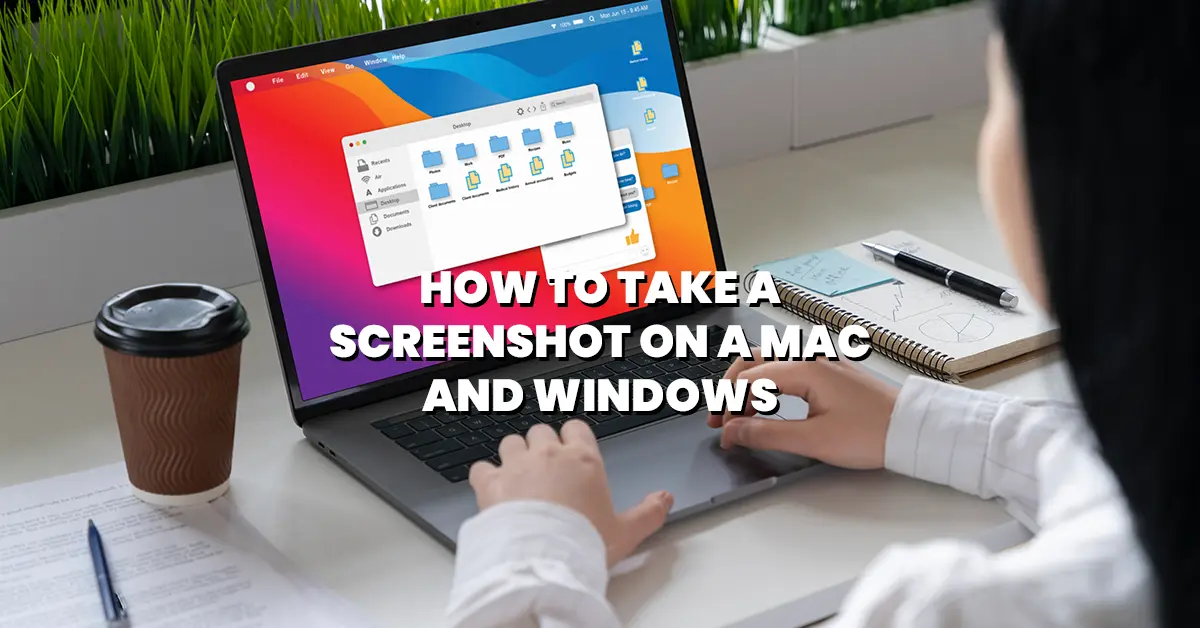
“Screenshots: Because sometimes, showing is way easier than explaining.” Whether you’re trying to capture a meme, save some epic notes from a Zoom call, or prove to IT that yes, your app is definitely glitching, knowing how to take a screenshot is an absolute life skill. But let’s be real – between Macs and Windows PCs, the whole process can feel like learning a secret handshake. Fear not! Screenshots are simpler than you think. Let’s break it down, step by step, so you can snag those screen captures like a pro.
The Mac Way: A Masterclass in Simplicity

If you’re a Mac user, congrats – your life is about to get a lot easier. Apple makes taking screenshots as simple as possible, with multiple options depending on what exactly you want to capture. Let’s start with the basics.
1. The Whole Screen: Command + Shift + 3
You need to grab everything on your screen – the whole enchilada. Easy peasy. Just hit Command + Shift + 3 and boom, your screen is saved as a file directly to your desktop. You’ll hear a satisfying camera shutter sound, like you’re a tech-savvy paparazzo.
- Pro Tip: Your screenshots will save with the timestamp in the file name. This makes it super easy to find your screenshots, especially if you’re taking a bunch in a row.
2. The Selected Area: Command + Shift + 4
Sometimes, you don’t need the whole screen – just a part of it. That’s where Command + Shift + 4 comes in clutch. Once you hit those keys, your cursor turns into a crosshair. Simply click and drag over the area you want to capture. Release the mouse, and voilà, you’ve got your screenshot.
- Pro Tip: If you mess up the size, no worries. You can press the Escape key to cancel and try again.
3. A Specific Window: Command + Shift + 4, Then Spacebar
This trick is for when you want to screenshot an entire window but not the rest of the screen (because, let’s be honest, no one needs to see your messy desktop). Hit Command + Shift + 4, then press the Spacebar. Your cursor will turn into a little camera icon. Hover over the window you want to capture and click. Clean, organized, and straight to your desktop.
- Pro Tip: This trick works for any open window or app, so you can screenshot that random spreadsheet without showing off your 27 open browser tabs.
4. Using the Screenshot Toolbar: Command + Shift + 5
If you like having options, this one’s for you. Press Command + Shift + 5 to open the screenshot toolbar, which gives you even more flexibility. From here, you can take screenshots of the whole screen, a selected area, or a specific window, and you can even record video clips of your screen.
- Pro Tip: Not happy with saving screenshots to your desktop? You can change the save location through the toolbar options, directing them to any folder you choose.
The Windows Way: It’s Not As Complicated As It Seems

Windows has come a long way in the screenshot game, and while the process might not feel as sleek as on a Mac, it’s just as functional. Whether you’re using a newer version of Windows or hanging on to your trusty Windows 7 setup, here’s how you can capture those screen grabs.
1. The Whole Screen: Print Screen (PrtScn)
If you just want to capture your entire screen, the Print Screen (PrtScn) button is your best friend. Simply press it, and your screen is copied to your clipboard. From there, you can paste it into an app like Paint or Word by hitting Ctrl + V. (Yes, Paint still exists, and yes, it’s awesome for quick edits.)
- Pro Tip: On some laptops, you may need to hold down the Fn (Function) key while pressing PrtScn. Keep that in mind if your keyboard isn’t responding right away.
2. The Active Window: Alt + Print Screen
Let’s say you’re in the middle of an intense work session with 14 different windows open, but you only need to capture one. No problem. Just press Alt + PrtScn, and it’ll capture only the active window (the one you’re currently working in). You can paste it into any app afterward for safekeeping.
3. The Snipping Tool: Windows’ Hidden Gem
Windows has a built-in screenshot tool that many people sleep on – the Snipping Tool. This little app lets you take screenshots of any area you want, just like Mac’s screenshot selection tool. Open the Start Menu, type in “Snipping Tool,” and get snipping.
- Pro Tip: The Snipping Tool also has options for delayed screenshots (perfect if you need to open a menu before capturing). You can even annotate directly within the app.
4. The Snip & Sketch Tool: Windows + Shift + S
If you’re using Windows 10 or 11, you’ve got access to the upgraded Snip & Sketch tool. Hit Windows + Shift + S, and your screen will dim slightly. Your cursor turns into a crosshair, and you can drag to capture any part of the screen. The screenshot will be copied to your clipboard, and a notification will pop up, letting you open the snip in Snip & Sketch for easy editing.
- Pro Tip: Want to annotate your screenshot? Snip & Sketch lets you draw, highlight, and crop your capture before saving it. This is super useful when you need to point something out to a friend or co-worker.
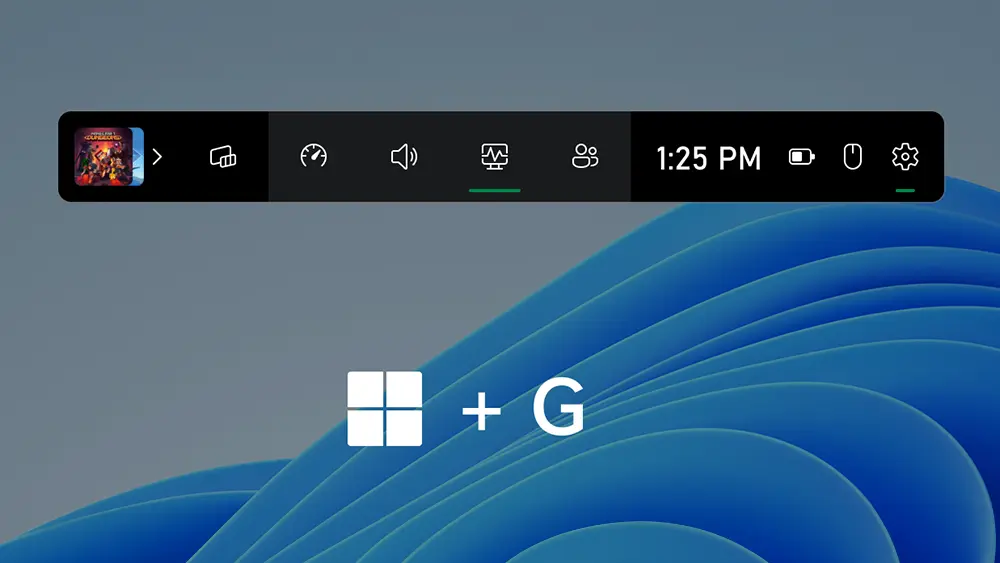
5. The Windows Game Bar: Windows + G
For gamers, Windows + G is your screenshot shortcut to glory. This opens the Windows Game Bar, a built-in feature designed for capturing game clips and screenshots. It’s meant for gaming, but you can use it for any full-screen app. Just hit the camera icon, and your screenshot will be saved to the Videos > Captures folder.
- Pro Tip: You can also record short video clips with the Game Bar, making it ideal for capturing not just screenshots but entire gameplay sequences or tutorial videos.
Advanced Tips for Both Mac and Windows Users

Editing Your Screenshots
Taking a screenshot is only half the battle. Sometimes, you need to tweak it a little before sharing. Both Mac and Windows have built-in tools for quick edits.
- Mac Users: Once you take a screenshot, click on the thumbnail that appears in the corner of your screen. This opens the editing window where you can crop, annotate, or share your screenshot without needing a separate app.
- Windows Users: Use Snip & Sketch or open the screenshot in Paint to make your edits. You can crop, draw, or add text, all in a few clicks.
Using Third-Party Screenshot Tools
If the built-in options don’t cut it, there are plenty of third-party tools that offer more advanced features. Tools like Lightshot and Greenshot (for Windows) or Skitch (for Mac) provide additional flexibility, from cloud saving to advanced editing features.
Leave a Reply